服务器系统:CentOS 7
更新服务软件:
yum update -y添加GitLab 仓库
curl -sS https://packages.gitlab.com/install/repositories/gitlab/gitlab-ce/script.rpm.sh | sudo bash安装gitlab-ce ( 社区版 )
yum install -y gitlab-ce修改 gitlab 的配置文件,配置域名以及端口
vim /etc/gitlab/gitlab.rb将 external_url ‘http://gitlab.example.com’ 地址修改成服务器的 IP 或者绑定的域名

重新编译配置并启动 GitLab
gitlab-ctl reconfigure
gitlab-ctl start
GitLab 的使用
登录地址即为 external_url 配置的地址,默认用户名为root,首次登录为进入重置密码页
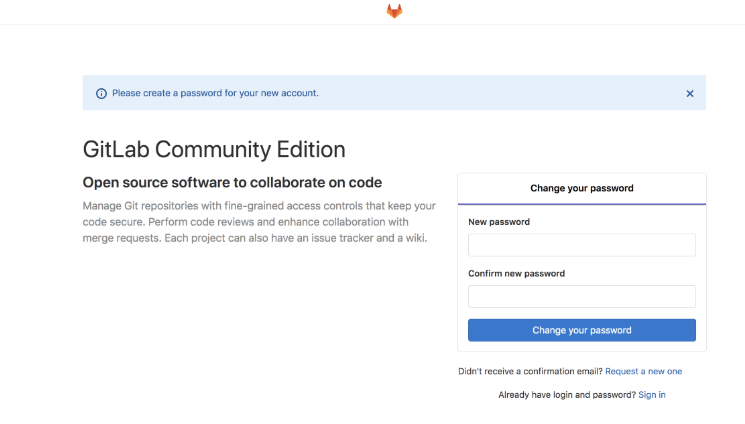
重置密码后重新登录,用户名为 root
GitLab 常用命令
#获取 gitlab 服务状态
gitlab-ctl status

#启动 gitlab 服务
gitlab-ctl start

#停止 gitlab 服务
gitlab-ctl stop

#重启 gitlab 服务
gitlab-ctl restart

#重启 gitlab 单个组件服务
gitlab-ctl restart sidekiq

#修改配置
vim /etc/gitlab/gitlab.rb

#查看日志
gitlab-ctl tail
gitlab-ctl tail nginx/gitlab_access.log

#重新编译配置,一般修改配置文件后需要执行此命令
gitlab-ctl reconfigure
其他
1. 解决 nginx 400 Bad Request Request Header Or Cookie Too Large 问题

EXTERNAL_URL="http://11.86.9.67:888"
unicorn['port'] = 88
gitlab_workhorse['auth_backend'] = "http://localhost:888"
unicorn 和 gitlab_workhorse 的端口号不要和 EXTERNAL_URL 设置一样的就行了,开一个新的端口,记得在防火墙放开,比如我开了8091端口
修改配置文件:
EXTERNAL_URL="http://11.86.9.67:888"
unicorn['port'] = 8091
gitlab_workhorse['auth_backend'] = "http://localhost:8091"
然后重新编译配置并重启服务
gitlab-ctl reconfigure
gitlab-ctl restart
等待一分钟左右再刷新页面查看效果。
2. 解决 Whoops, GitLab is taking too much time to respond 502 错误

vim /etc/gitlab/gitlab.rb 打开配置文件,修改配置
找到如下配置项,原来是用#注释的,把前面的#去掉取消注释,原来的默认端口号应该是8080,改成你自己想要的端口号,比如8099
注意新配置的端口号不要被其他进程占用,且要在防火墙设置放开
以下两项新配置的端口号需一致
之所以报502这个错误就是原来默认配置的8080端口号被其他应用占用冲突了,只需换成其他新的端口号就可以了
unicorn['port'] = 8099
gitlab_workhorse['auth_backend'] = "http://localhost:8099"
然后重新编译配置并重启服务
gitlab-ctl reconfigure
gitlab-ctl restart修改配置文件后重启服务,刷新页面可能不能马上成功,差不多要等个一分钟左右再重新刷新页面就成功了。